
The humble clipper is one of the most useful tools in modern grooming. Whether it is used by a professional barber creating a sharp fade or by someone trimming their own hair at home, a good clipper turns a job that once needed a steady hand and a pair of scissors into something precise, repeatable and fast. Yet buying one can be confusing. Corded or cordless, rotary or pivot motor, a handful of guards or a full kit, the choices seem endless, and the wrong choice often ends in an uneven cut or a tool that gathers dust in a drawer.
This guide covers everything you need to know about the clipper: the main types, how to choose one for your needs, how to use it properly at home, how to keep it sharp and clean, and the mistakes that cause most bad haircuts. By the end, you will know exactly what to look for, and exactly what to avoid, before you switch a clipper on.
What Is a Clipper?
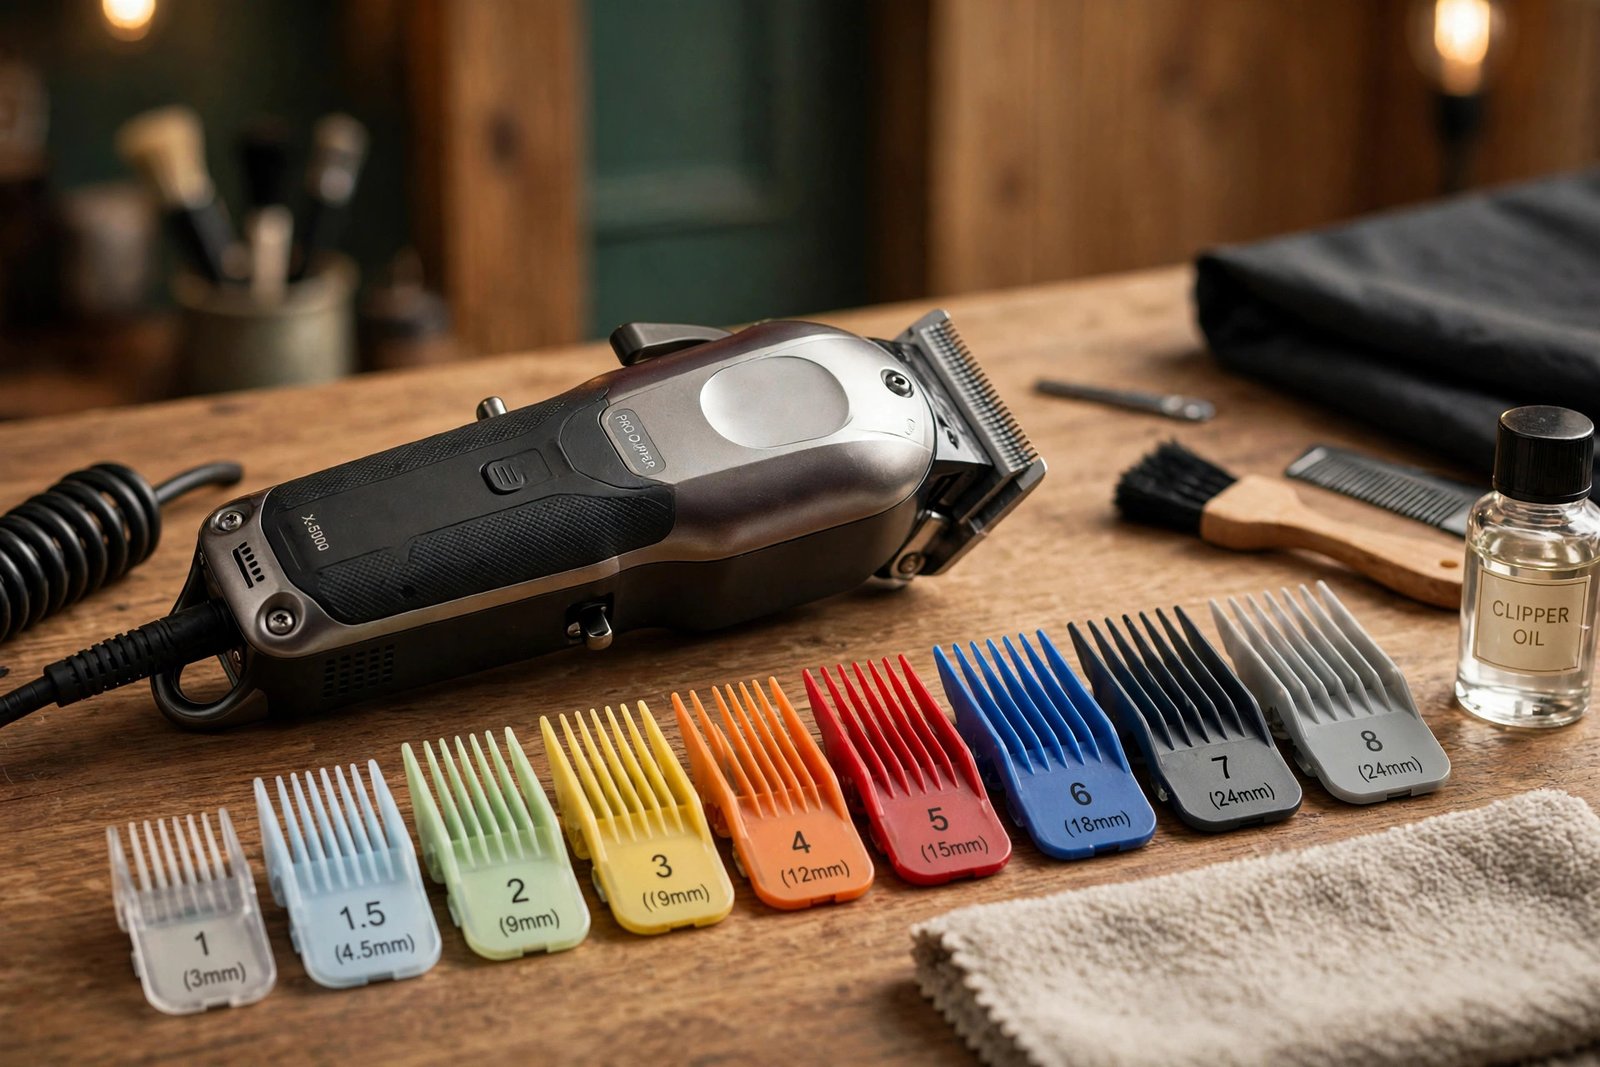
A hair clipper is an electric tool that cuts hair to a consistent length using two sets of toothed blades. One blade stays still while the other moves rapidly from side to side, shearing hair between the teeth. Guide combs, often called guards, clip over the blades and hold them a fixed distance from the scalp, which is what controls the length of the cut. A number one guard leaves hair very short, while a number eight guard leaves it much longer, and cutting without a guard at all gives the closest possible trim.
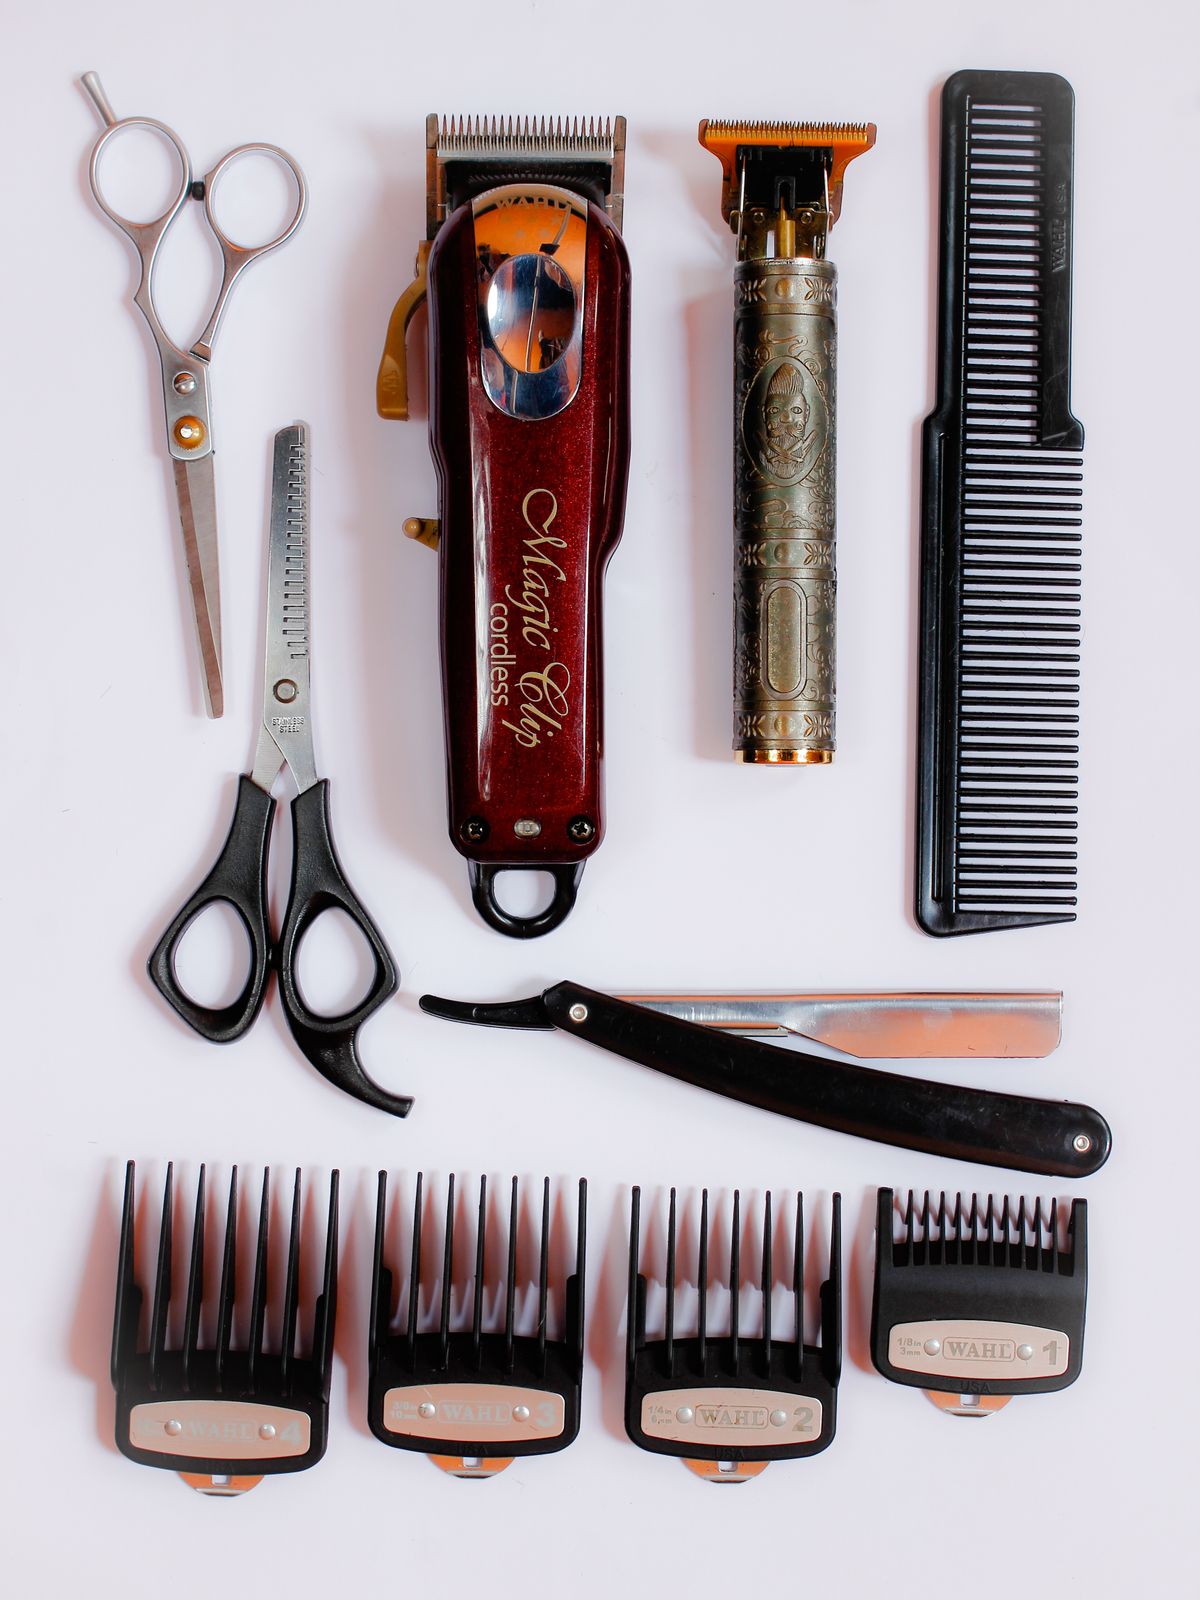
Clippers are often confused with trimmers, but the two tools do different jobs. A clipper is designed for bulk cutting: removing length across the whole head, blending sections and creating fades. A trimmer is smaller, more precise and designed for detailing, edging hairlines, tidying beards and cleaning up around the ears and neck. Most barbers use both, and many home users eventually do too, but if you can only buy one tool for cutting hair, it should be a clipper.
Types of Clipper
Clippers fall into a few broad types, and the differences matter more than the branding on the box. Corded clippers plug into the mains and run at full power for as long as you need them, which makes them a favourite in busy barbershops where a tool may be used all day. Their drawback is the cable, which can get in the way during detailed work around the ears and neckline.
Cordless clippers run on rechargeable batteries and offer freedom of movement, which makes them easier to manoeuvre and popular for home use. The trade-off is battery life and a gradual drop in power as the charge runs down, so a cordless clipper should always be fully charged before a cut, and checked partway through a longer session. Many modern cordless models can also be used while plugged in, which removes the worst of that worry.
The motor inside matters as well. Magnetic motors are light, fast and common in home clippers, and they handle fine to medium hair well. Pivot motors are stronger and quieter, and they cope better with thick or coarse hair, which is why they appear in many professional models. Rotary motors are the most powerful of all and are built for heavy, continuous use, but they also make the clipper heavier, which can tire your hand during a long cut. For most home users, a magnetic or pivot motor is more than enough, while professionals cutting thick hair all day will feel the benefit of a rotary motor.
How to Choose the Right Clipper
Start with how you will actually use it. If you cut your own hair or a family member’s hair every few weeks, a mid-range cordless clipper with a solid set of guide combs will serve you well. If you are a barber or you cut very thick, curly or coarse hair regularly, invest in a professional model with a stronger motor and blades that stay cool during long sessions. Buying a cheap clipper that struggles through thick hair will cost you more in frustration than the saving is worth.
Look closely at the blades. Stainless steel blades are durable and easy to maintain, while ceramic blades stay cooler and hold an edge longer, though they can be more brittle if dropped. Self-sharpening blades are a genuine convenience, because they reduce the maintenance burden over the life of the tool. Also check whether the blade is adjustable with a taper lever, which lets you fine-tune the cutting length between guard sizes, a feature that makes blending and fading much easier.
The guide combs deserve as much attention as the clipper itself. A good kit should include a full range of sizes, from the shortest grades up to longer lengths, and the combs should attach firmly without wobbling. Loose guards are one of the main causes of uneven cuts, because a guard that shifts mid-stroke changes the cutting length without warning. Finally, consider weight, balance and noise. A clipper that feels comfortable in your hand and does not vibrate excessively will give you far more control than a more powerful model that is awkward to hold.
Cost is worth discussing honestly, but only in terms of what drives it. Professional motors, better blades, longer battery life and a fuller set of guards all push the cost up, while basic home models keep it down by simplifying each of those areas. What matters is matching the tool to the job: paying for professional power you will never use is wasteful, but buying the cheapest option for thick hair that it cannot handle is a false economy.
How to Use a Clipper at Home
Preparation is half of a good haircut. Start with clean, dry hair, because wet hair clumps together and makes it harder to judge length, and dirty or oily hair can clog the blades. Work in a well-lit room with a mirror you can check from the side and back, and lay out your guards in order so you are not hunting for the right size mid-cut. If you are cutting someone else’s hair, agree on the lengths before you start, and be conservative: you can always take more off, but you cannot put it back.
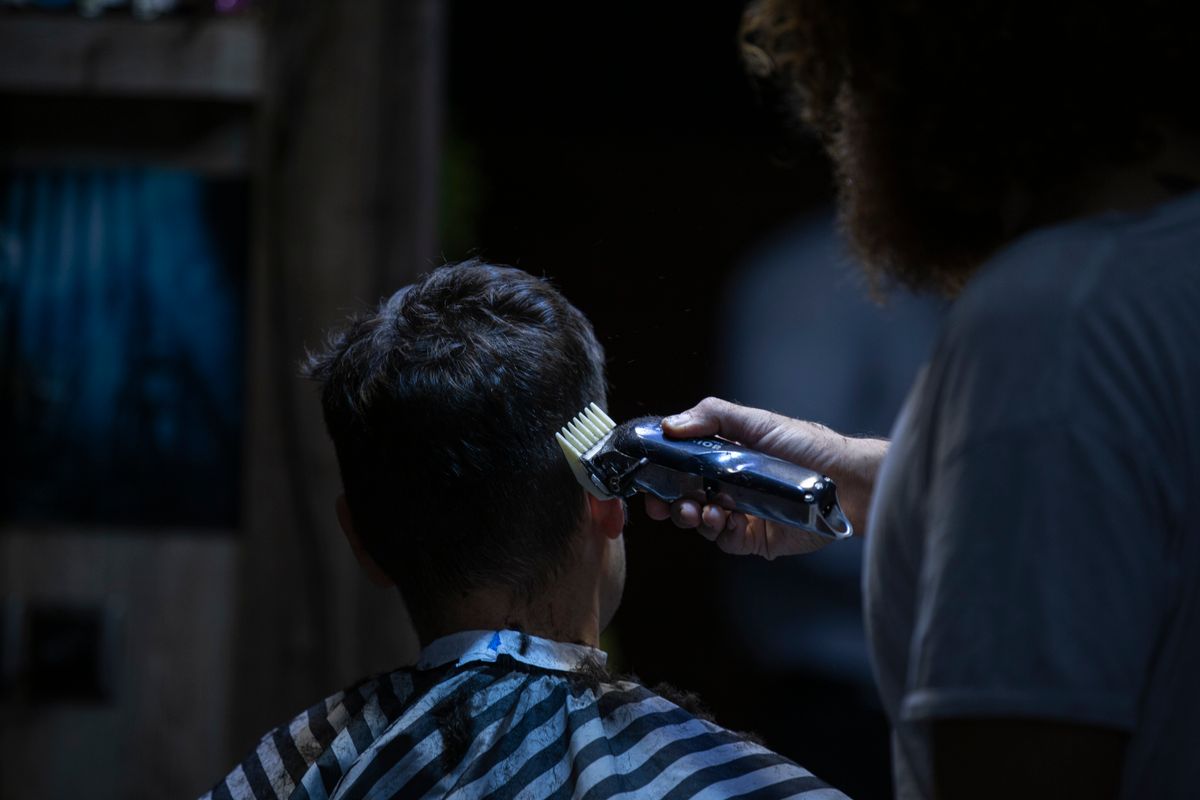
The basic technique is simple. Attach the longest guard you plan to use, and cut against the direction of hair growth, moving the clipper in smooth, steady strokes. Work in sections, starting at the sides and back before moving to the top, and overlap each stroke slightly so no strips are missed. For the top of the head, many people prefer a longer guard or scissors, because clippers can leave the top looking flat if the guard is too short. Take your time, step back regularly to check your progress, and resist the urge to rush the blending.
Blending is where most home cuts go wrong. When you move from a short guard on the sides to a longer guard on top, there will be a visible line where the lengths meet. To soften it, use an intermediate guard size over just that transition zone, flicking the clipper outward at the end of each stroke rather than pressing flat against the head. The taper lever, if your clipper has one, is your friend here: opening it halfway effectively gives you a length between two guard sizes, which is ideal for smoothing out harsh lines.
Clipper Techniques for Fades
Fades are the most popular clipper technique, and also the most demanding. A fade is a gradual transition from very short hair at the bottom to longer hair at the top, and the quality of the fade depends entirely on patient blending. Low fades start the transition just above the ear, mid fades start higher up the side, and high fades push the blend well above the temples. Each looks different, so choose the style before you start cutting, not halfway through.
The method is to work upward in stages. Start with the shortest length at the bottom, then add a guideline with the next size up, then blend between the two with the taper lever or an intermediate guard. Repeat the process up the head, checking from every angle as you go. Our guide to the low taper fade explains how to choose, style and maintain that particular look, and it is a useful companion read if a low taper fade is the style you are aiming for, because it covers face shapes, barber communication and maintenance in detail. Rushing a fade is the surest way to end up with visible steps instead of a smooth gradient, so budget more time than you think you need, especially on your first few attempts.
Edging and detailing come last. Use a trimmer, or your clipper without a guard held very carefully, to clean up the hairline, around the ears and at the nape of the neck. This step makes the difference between a cut that looks home-made and one that looks finished, but it is also where slips happen, so use a light touch and small movements. If you are unsure, leave the hairline alone: a slightly natural edge looks better than a line that has been pushed too far back.
Cleaning and Maintaining Your Clipper
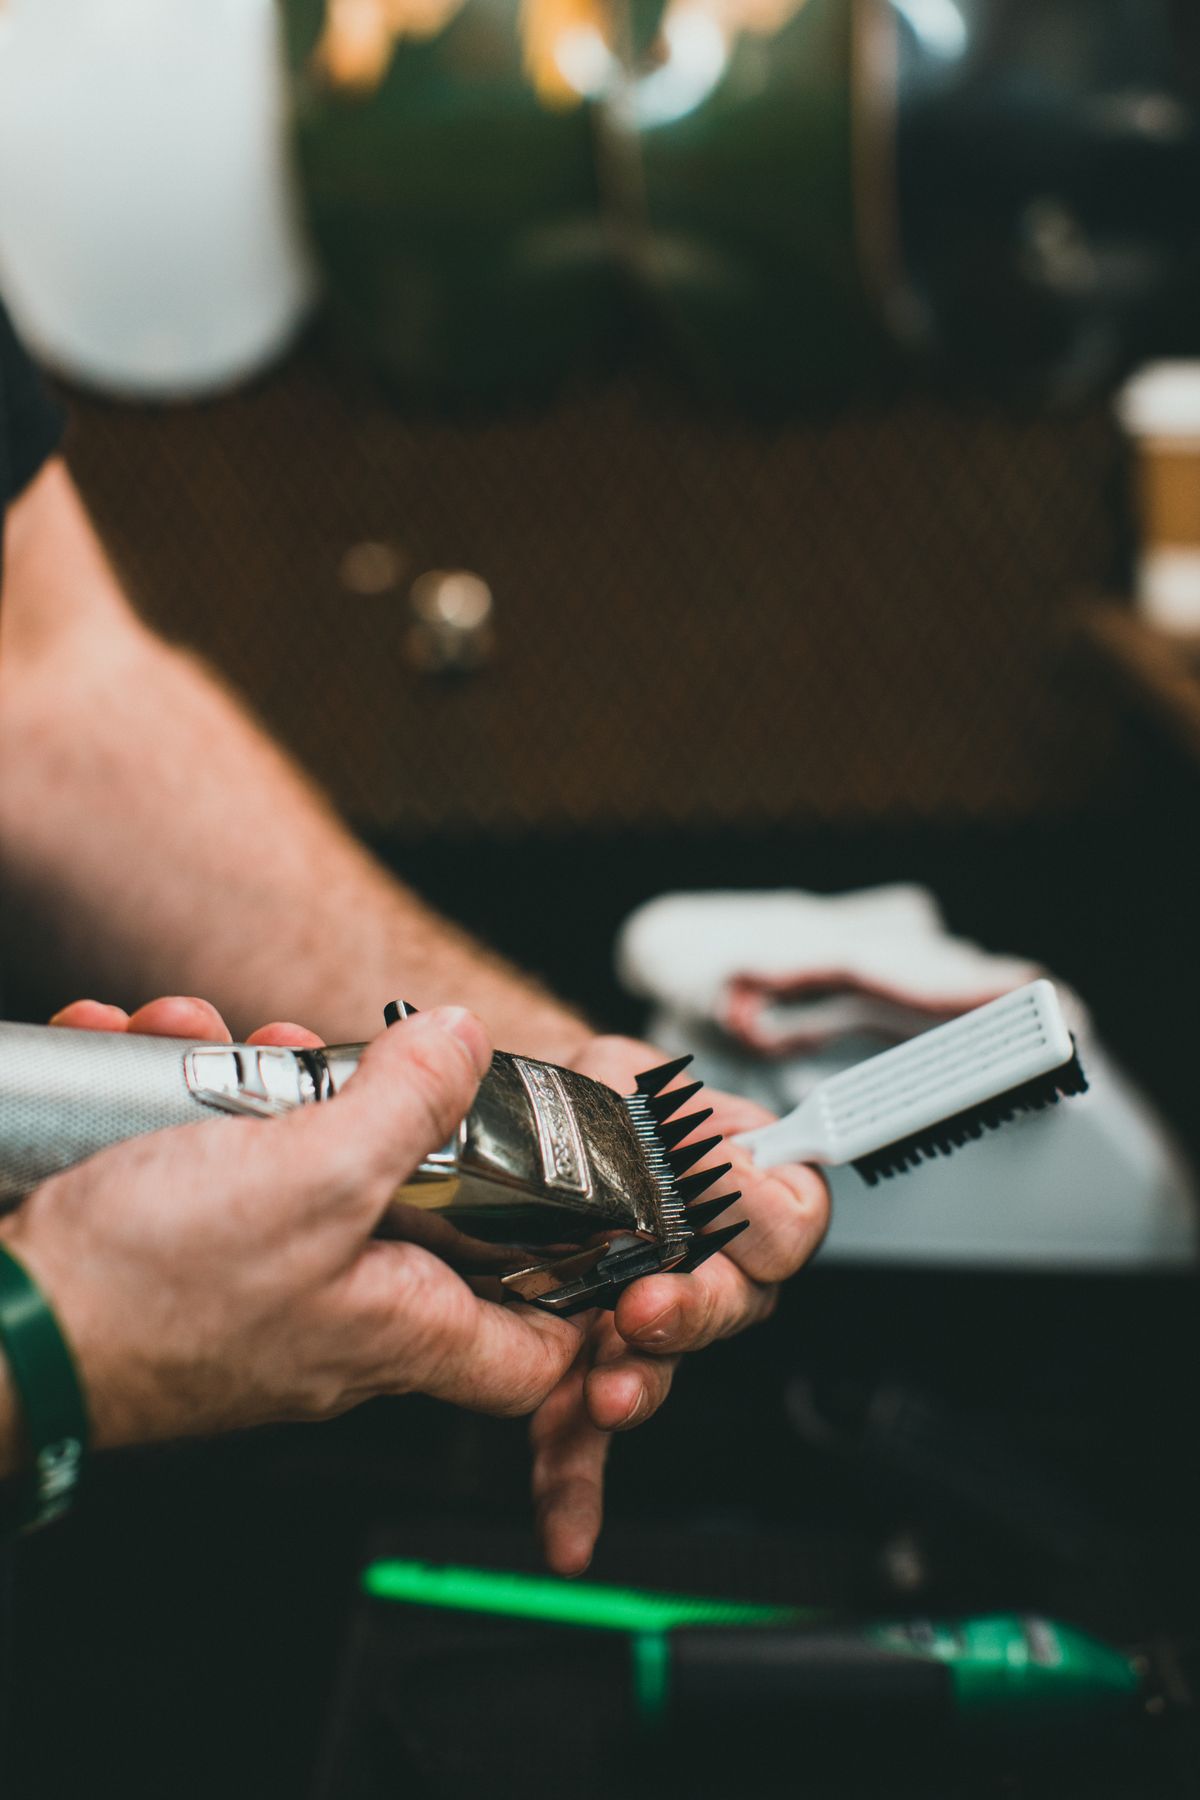
A clipper that is not cleaned will cut worse over time, pull at hair, and wear out faster. After every cut, brush loose hair from the blades with the small brush that comes in the kit, and wipe the body down. Every few cuts, remove the blade set if your model allows it, clean underneath it thoroughly, and apply a drop or two of clipper oil across the teeth before running the clipper briefly to spread it. Oiling is the single most important maintenance habit, because dry blades generate friction, heat and wear.
Blade care goes further than brushing. If your blades are adjustable, check their alignment occasionally, because misaligned blades can nick skin or cut unevenly. If the blades feel dull even after cleaning and oiling, they may need professional sharpening or replacement, depending on the model. Store the clipper in a dry place with its guards attached or stored together, and never leave it in a damp bathroom cabinet where moisture can corrode the blades.
Battery care matters for cordless models. Letting a battery run completely flat every time, or leaving the clipper on charge for weeks unused, can both shorten its life. Charge it before use, unplug it once full, and if you will not use it for a long stretch, store it with a partial charge rather than empty or full. These small habits add up to years of extra service from the same tool.
Common Clipper Mistakes to Avoid
- Starting with too short a guard: Always begin longer than you think you need. You can go shorter, but you cannot undo a cut.
- Cutting wet hair: Wet hair clumps and hides the true length, leading to uneven results once it dries.
- Skipping the oil: Dry blades drag, heat up and dull quickly. A drop of oil after cleaning takes seconds.
- Pressing too hard: Let the blades do the work. Pressing flat against the scalp causes lines and irritation.
- Ignoring the back: Use a second mirror or ask someone to check the back, where missed strips are most common.
- Forgetting to clean guards: Hair trapped in a guard changes its effective length and causes patchy cutting.
Clipper Safety Tips
Clippers are safe tools when used sensibly, but a few precautions are worth stating. Never use a clipper on broken or irritated skin, and be especially careful around the ears, where the skin folds and the blade can catch. Keep the cord away from water if you use a corded model, and never use a mains clipper in the shower or with wet hands. If you are cutting a child’s hair, keep the session short, explain each step, and let them hold a guard or brush so the tool feels less intimidating. A calm subject gives a better cut than a fidgeting one.
For professional use, hygiene is non-negotiable. Blades and guards should be cleaned and disinfected between clients, and any tool that has nicked skin should be taken out of service until it has been properly cleaned. Clients notice hygiene, and it is one of the simplest ways a barber earns trust.
Frequently Asked Questions
What is the difference between a clipper and a trimmer?
A clipper cuts bulk hair to a consistent length using guide combs, while a trimmer is smaller and designed for detailing, edging and beard work. Most complete grooming kits include both.
Should I buy a corded or cordless clipper?
Corded clippers offer unlimited run time at full power, while cordless clippers offer freedom of movement. For home use, cordless is usually more convenient, provided you charge it fully before each cut.
How often should I oil my clipper?
After every few cuts, and always after a thorough cleaning. A drop or two across the blades, run briefly to spread it, is enough.
Can I cut my own hair with a clipper?
Yes, especially shorter styles and fades on the sides and back, though the back of your own head is hard to see. Use two mirrors, work slowly, and start with a longer guard than you think you need.
How long does a good clipper last?
With regular cleaning, oiling and blade care, a quality clipper can last many years. Neglect, especially running it dry and uncleaned, is what shortens its life most.
Conclusion
A clipper is a simple tool, but choosing and using one well takes a little knowledge. Match the motor and blades to your hair type, buy a kit with a full range of secure guards, learn the blending technique before you attempt a fade, and keep the blades clean and oiled. Do those things, and a clipper will repay you with consistent, sharp cuts for years, whether it lives in a barbershop or in your bathroom cabinet at home.